Scatter PRO scatters a set of objects on any surface.
To position the objects, it is based on vertices, edges or faces. By default, it uses the vertices, but it can be changed using the location subpanel.
An object is positioned relative to its geometric center. It is as a result that you may have to change this center for a better rendering using the Object -> Set origin menu item of blender.
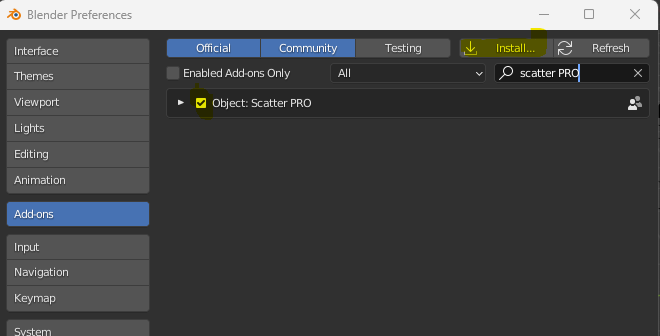
Go to the Edit -> Preferences menu item inside blender.
Click on the install button and select the provided ZIP (scatterPro2.zip).
You will see Scatter PRO inside the plugin lists, you may have to select it.
Once installing, Scatter PRO will be available in the Layout workspace on the right panels
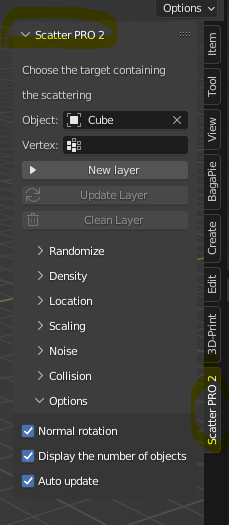
In this default panel, you will have to choose the object receiving the scatter objects.
After choosing it, you just have to select objects to scatter and press the "New layer" button.
A layer is a set of scattered objects. Each time you activate "New layer" a new set of objects is added.
Each time you update a parameter, the last layer is automatically updated or you can press "Update layer".
If you clean Layer, the layer is deleted and you will have to click "New layer" for building a new one.
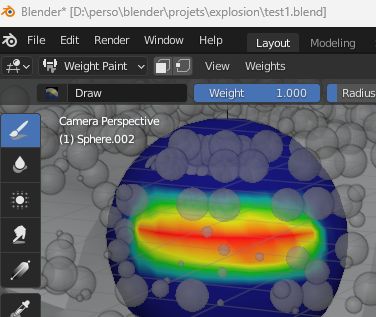
You can select only a subset of vertices of your object using the vertex field. This field is not required, it needs a group of vertices. This group is usually generated inside the Weight paint mode. In the screenshot below, we select a group of vertices, it is located in a yellow to red colors.

If you have a vertices group, you must use the "vertices mode" location.
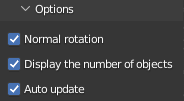
If you have a lot of objects inside your scene, the automatic update can have a low performance. You can disable it with the Options panel by unchecking "Auto update". Then you will have to click on "Update Layer" after all your parameters update.
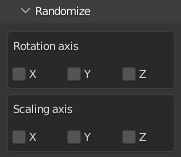
The rotation checkboxes will add a random rotation using the selected axis between 0 and 360 degrees. You may choose several axis.
The scalling will apply a random scalling rate between 0 and 1 on the selected axis. You may choose several axis. A 0.5 random value means you final object will be reduced of 50%.
The scalling rate can be impacted by the Scaling panel. Indeed you may ask inside this one a Global factor > 1. It means if you choose a global factor à 2, then Scatter PRO will choose a size between 0x to 2x.

The first percent field indicates the proportion of objects to scatter. For sample a 50% proportion means that half of your vertices/edges or faces will be used for scatter objects.
The minimal distance field indicates that two scatter objects will have at least this distance. The default value is 0 for no distance.
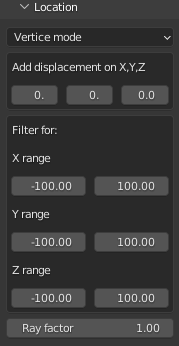
The first field indicates the location of the points for each object to scatter. It will move each object to these points using the geometry center.
The default value is "Vertice Mode", you may have to subdivise your final object for having enough locations. For sample if you use a plan, it may be desirable to subdivise this plan.
If you use the "Edge Mode", each point will be located at the middle of each edge.
Here the result applied with vertices for a cube with a density of 100%
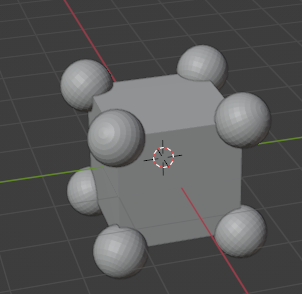
Here the result applied with edges for a cube with a density of 100%
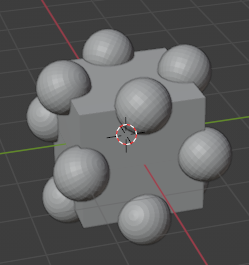
Here the result applied with faces for a cube with a density of 100%
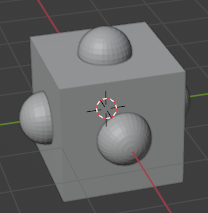
The displacement is a way to change each final point adding values for the X, Y or Z axis. For sample you may consider it is better to increase the height location of each object using the Z value.
The filter fields is useful to prohibit certain points according to their location.
For sample if I set a Z range from -10 to 10, then all points outside it will be ignored.
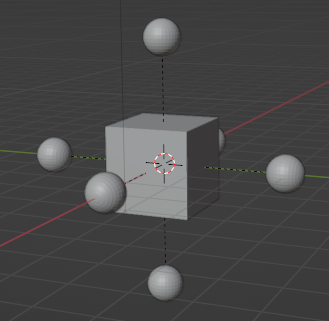
The ray factor applies a displacement using the normal vector of each point. By default the value is 0. The larger the value, the further away from the point. In the screenshot below we apply a ray factory using the "Face mode" location.
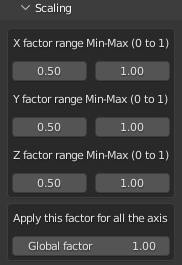
The axis factor is a range between 0 and 1. This is useful when you have a random value for the scaling. For sample if you choose a value between 0 and 0.5, it means a random value will be from 0 to half of the scatter object size.
The global factor apply a ratio to the final scatter object. By default this is 0. If I choose for sample 2, it means the final object will have a size multiply by 2. It can depend on the axis factors too.

May be this is not enough using each vertices/edges or faces, if you wish a random displacement around, you can set a value for each axis.
For sample if I choose -1 to 2 for X, it will displace each scatter object on the X axis randomly between -1 to 2 values. This is useful if you didn't want to have align objects.
The noise to the normal will apply a random ratio factor for moving each scatter object along the normal vector. The default value is 1 meaning no moving.
The button "Default" will reset the default values.
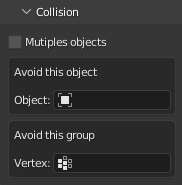
By default, if you do multiple scatter pro action, each scatter object will be only at a point. You can't have multiple objects at the same point except if you select "Multiples objects"
If you choose an object to avoid, Scatter PRO will avoid any points (vertices,edges or faces) that could intersected the select object.
If you choose a vertex group, Scatter PRO will avoid any points (vertices) that could be inside the vertex group. This vertex group is created using the Weigt paint mode of blender.
(c) 2022 Alexandre Brillant